

I couldn't find another shirt to add ruffles onto..but I can show you how to make some ruffles :)
Frayed Ruffle Tutorial
_____________________________
Step 1. Get some fabric and scissors!

Step 2: Cut about an inch into the fabric, however big you want your ruffles to be. For this I did different sizes.

Step 3: Rip the fabric starting where you cut it- it might be a little tough depending on your fabric


Step 5: Now get your sewing machine ready and set it to a loose stitch- I did the last one in the "6" group

Step 6: Sew a straight line down your fabric and leave some extra thread hanging off the edge

Step 7: Take one of the strings from your stitch (doesn't matter which one) and start tugging at it and inching the fabric down. So far I haven't had any trouble doing this but if it gets sticky you can turn it around and start pulling on the opposite end.


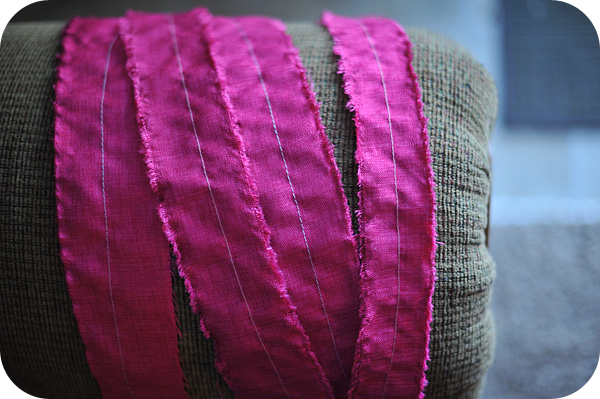
Voila! You have a ruffle! I used these ruffles on a pillow and it looks really cute! I'm obsessed with them considering how easy they are and you can add them to anything! Also, I got this fabric from walmart for $5 for 5 yards. Our walmart got rid of their fabric section and they still have some bolts on clearance. You can't beat that!
Okay, I LOVE this! It looks very Anthroplogie:) Thanks for sharing, keep the tutorials coming!
ReplyDelete